


02. Front End Assembly
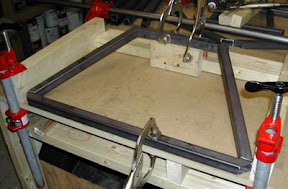 The front end is often considered the most difficult part of the chassis... and with good reason. The side uprights are positioned at a compound angle and this requires a jig to keep the upper and lower rails in correct position. The accuracy of the assembly is influenced by the quality of the compound cuts, the integrity of the jig, and the extent to which the joints are heated when welding.
 I was harshly reminded of this last point by welding the joints in the wrong order and without noting any twist induced along the way. I foolishly decided to remove the assembly from the jig after tack welding and then fully weld the joints. This proved to be my undoing as I quickly realized the importance of tack welding until the entire structure is able to naturally oppose twisting.
I had plenty of opportunity to practice this newly learned lesson after reworking the entire front end a second time.
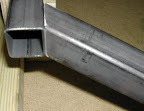
The use of a compound miter saw with an abrasive metal cutting blade is highly effective for creating accurate compound cuts. The more accurate the compound cut, the easier the assembly process.
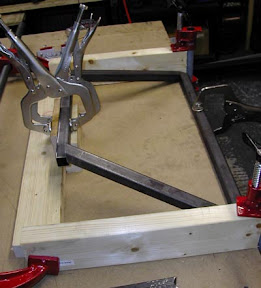
 An adjustable corner clamp is a great tool for holding the angled tubes in place while the opposite ends are spot welded. Even though this is a compound joint, the flat adjustable angle clamp holds everything in place just the needed amount. If the angled cuts are very accurate the assembly will stay together using careful placement and gravity alone, but the TIG welding process requires both hands and this adjustable clamp was a welcomed addition.
